How I Developed and Published a Vibe-Coded Endless Runner on Remix

Disclosure: This article contains referral links for certain page links provided. I may be compensated for successful referrals. These referral links may contain additional rewards for you.
Introduction
Vibe-coding games is one of those ideas that sound hand-wavy until you actually ship something.
During a game jam sponsored by Cryptoys, I decided to test how far AI-assisted development could really go by building and publishing a fully playable endless runner using Remix Game Studio.
This article is a hands-on breakdown of:
- How I structured my prompts
- Where AI helped (and where it didn’t)
- How I handled assets, hitboxes, and game logic
- What it actually takes to publish a vibe-coded game on Remix
If you’re curious whether vibe-coding is viable for real game development or you’re thinking of using Remix, this should save you a lot of trial and error.
The Game Jam Context (and Why It Mattered)
This project was built during a Cryptoys-sponsored game jam, which came with two important constraints:
- Art assets were provided
- The focus was on game mechanics and execution, not visuals
That made it a perfect environment to test vibe-coding. I didn’t have to:
- Design characters from scratch
- Worry about art direction consistency
Instead, I could focus entirely on:
- Core gameplay loop
- Collision logic
- Difficulty tuning
- Polish and publishing
Given those constraints, I chose an endless runner, a genre that’s simple on the surface but very sensitive to feel.
Tools and Resources I Used
Here’s the exact toolchain I used, and why each one mattered:
1. Remix Game Studio
This was the backbone of the project. You probably will be reading the rest of this page if you intend to use Remix too.
Remix handled:
- Core game structure
- Scene management
- Physics and collisions
- Publishing pipeline
If you’re new to Remix, it’s surprisingly friendly for fast iteration, especially during jams.
2. ChatGPT (Code Understanding and Iteration)
ChatGPT isn't used here to “make a game”. I used it to:
- Understand generated code line by line
- Validate assumptions before changing mechanics
Copy-pasting chunks of code into ChatGPT and asking “explain this like I’m about to break it” saved me hours.
3. Gemini (Asset Alterations)
Gemini was used strictly for visuals:
- Modifying existing assets
- Generating background & menu art from existing assets
- Keeping art consistent with Cryptoys’ style
4. Kenney Game Assets
Kenney’s assets filled the gaps cleanly whenever Cryptoys’ pack didn’t have what I needed:
- UI elements
- Extra sounds
- Fallback visuals
5. Affinity (Manual Art Editing)
AI doesn’t replace finishing touches. I used Affinity to:
- Resize assets precisely
- Create minor custom visuals when needed
Step 1: Designing the Prompt
The single most important decision I made was writing a proper prompt.
Before touching Remix, I created a mini game design document, which included:
- Game Overview
- Core Gameplay Loop
- Core Mechanics
- Win/ Loss Conditions
- Scoring Systems
- Progression Systems
- Theme, World & Tone
- Controls & UI
- Camera & presentation
- Technical & Production Constraints
- Reference Games (Design Intent)
- Design Risk & Mitigations
This document was then embedded directly into my AI prompt:
1. Game Overview
• Genre: Top-down endless racer / dodger
• Platform: Mobile (iOS / Android)
• Orientation: Vertical (portrait)
• Target Audience: Casual to mid-core mobile players who enjoy high-score chase games
Core Fantasy:
You’re a zoo animal escaping down an endless road while alien invaders try to abduct you.
Design Pillar:
Fast, readable, one-life skill test. No upgrades. Every run is pure execution.
2. Core Gameplay Loop
1. Road scrolls continuously downward
2. Player dodges left/right to avoid enemies
3. Player collects coins to increase score
4. Game speed increases over time
5. One collision = game over
6. Player restarts instantly to chase a higher score
Primary Motivation:
Beat your previous high score.
3. Core Mechanics
Player Movement
• Player car moves left or right only
• Movement triggered via on-screen touch buttons
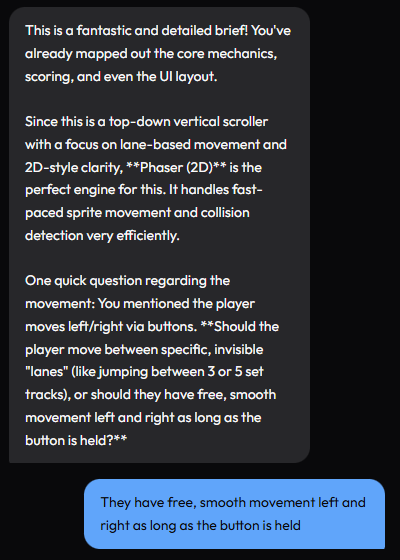
• Players have free, smooth movement left and right as long as the button is held
Enemies
• Alien vehicles appear on the road
• Collision with any enemy results in immediate game over
• Enemy spawn rate and density increase over time
Coins
• Coins spawn on the road
• Collecting coins increases score
• Coins encourage riskier movement into enemy-dense areas
Speed Scaling
• Game speed increases gradually over time
• Higher speed = less reaction time
• Difficulty comes from speed + density, not enemy behavior complexity
4. Win / Lose Conditions
• Win Condition: None (endless game)
• Lose Condition:
- Player collides with an enemy
- One life only; no recovery
5. Scoring System
• Score increases through:
- Distance survived
- Coins collected (primary scoring signal)
• Final score shown at game over using Remix SDK
6. Progression & Systems
• No upgrades
• No meta-progression
• Difficulty progression is entirely systemic via speed and spawn tuning
7. Theme, World & Tone
Theme (assets to be added later)
• Zoo animals escaping alien abductors
Player Character (assets to be added later)
• Animal driving a vehicle (or animal-themed vehicle)
• Multiple animals are cosmetic only (optional)
Enemies (assets to be added later)
• Alien ships or alien-themed vehicles
• Visual clarity prioritized over detail
Tone (assets to be added later)
• Light, playful, slightly chaotic
• Bright colors, readable silhouettes
8. Controls & UI
Controls
• Two on-screen buttons:
- Move Left
- Move Right
• Buttons placed at bottom left and right for thumb reach
UI
• Score visible at top of screen
• Speed increase communicated visually
• Game Over screen using Remix SDK:
- Final score
- Best score
- Restart button
9. Camera & Presentation
• Fixed top-down camera
• Road scrolls vertically toward the player
• Player stays near bottom third of the screen
• No camera shake (unless minimal and intentional)
10. Technical & Production Constraints
• Designed for short sessions (30–120 seconds)
• One-handed play
• No save states mid-run
• Minimal asset variety
• Simple collision boxes for fairness
11. Reference Games (Design Intent)
• Crossy Road – clarity and instant restarts
• Subway Surfers – escalating speed pressure
• Classic arcade racers – pure score-chasing loop
Explicitly NOT copying:
• No power-ups
• No progression trees
• No complex enemy patterns
12. Design Risks & Mitigations
Risk: Game feels repetitive
• Mitigation: Tight speed curve, enemy density tuning, coin placement risk
Risk: Difficulty spike feels unfair
• Mitigation: Clear enemy telegraphing, consistent lane logic
Risk: Low retention without upgrades
• Mitigation: Fast restarts, visible personal best, clean controls
In fact, the only clarification it asked for was player movement, which is exactly where ambiguity still existed.
Why this mattered:
- The AI didn’t confuse the game with other genres
- It didn’t ask endless clarification questions
- It generated code aligned with my intent
The result of using this game design document was a playable game with placeholder assets:

Step 2: Importing Assets Early
I uploaded all available assets as early as possible, even before gameplay felt complete.
I wanted to make sure hitbox accuracy is right from the get-go.
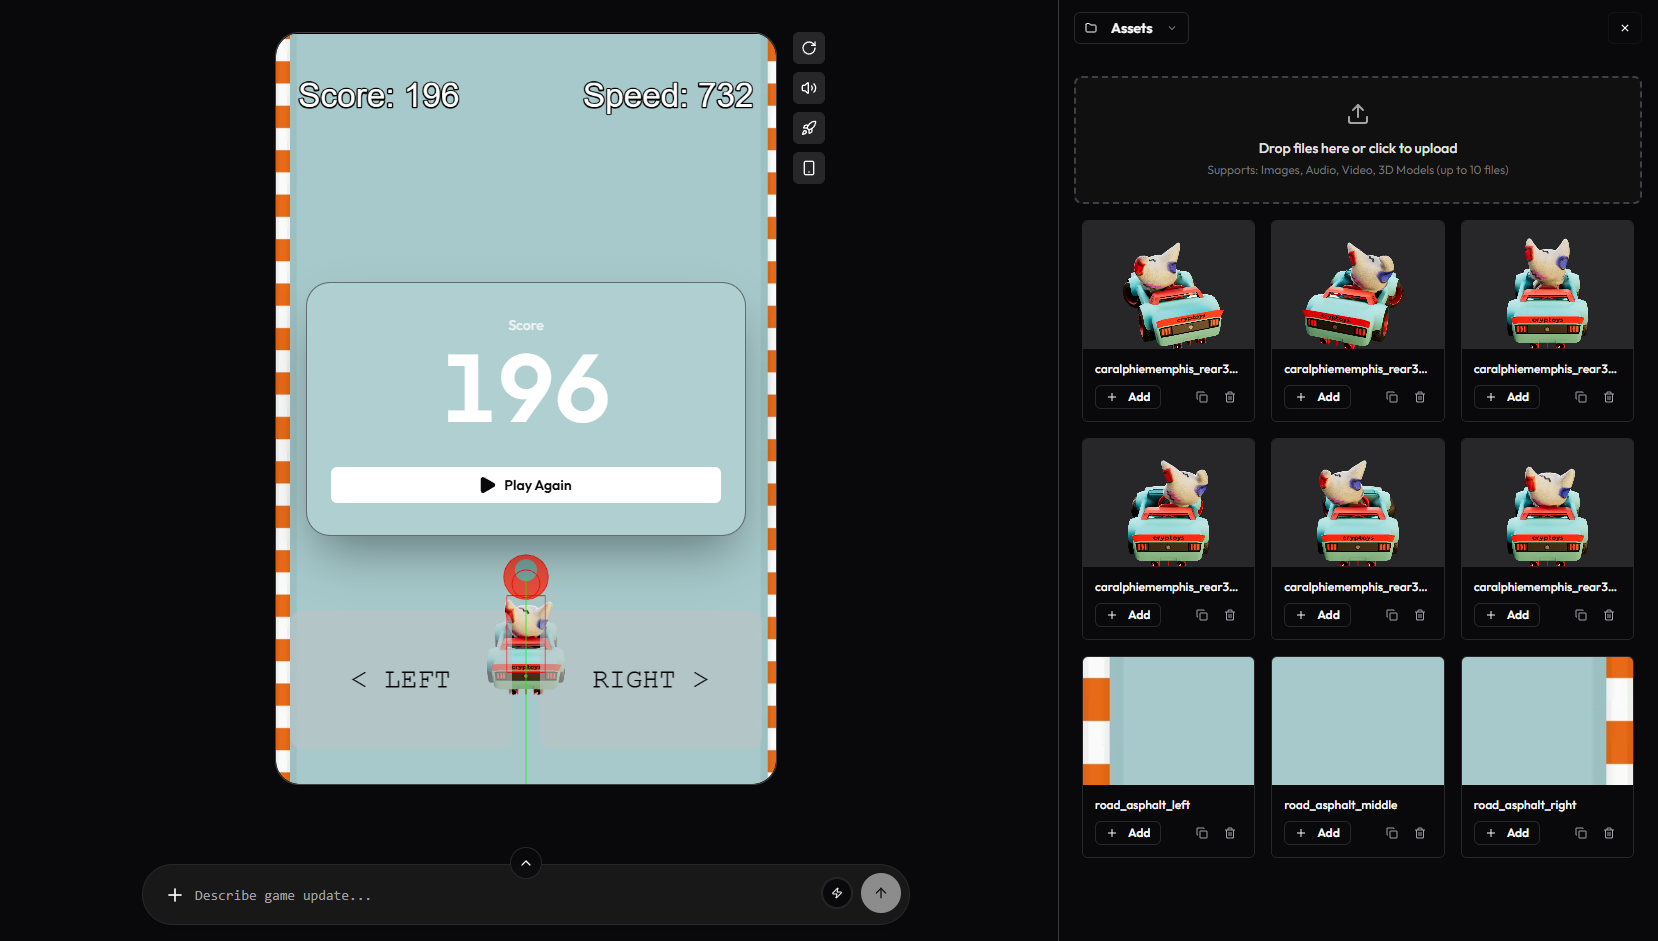
Early asset import allowed me to:
- Frame player hitboxes correctly
- Size enemies relative to the player
- Prevent unfair collisions later
Skipping this step is how endless runners end up feeling “cheap.”
Step 3: Physics Debugging and Hitbox Tuning
Once the game was playable, I prompted Remix to enable physics debugging, showing hitboxes as red outlines.
You can also manually do this by switching the debug settings from 'false' to 'true'.
physics: {
  default: 'arcade',
  arcade: {
    debug: true
  }
}
Then I edited the code to manually tune four critical elements:
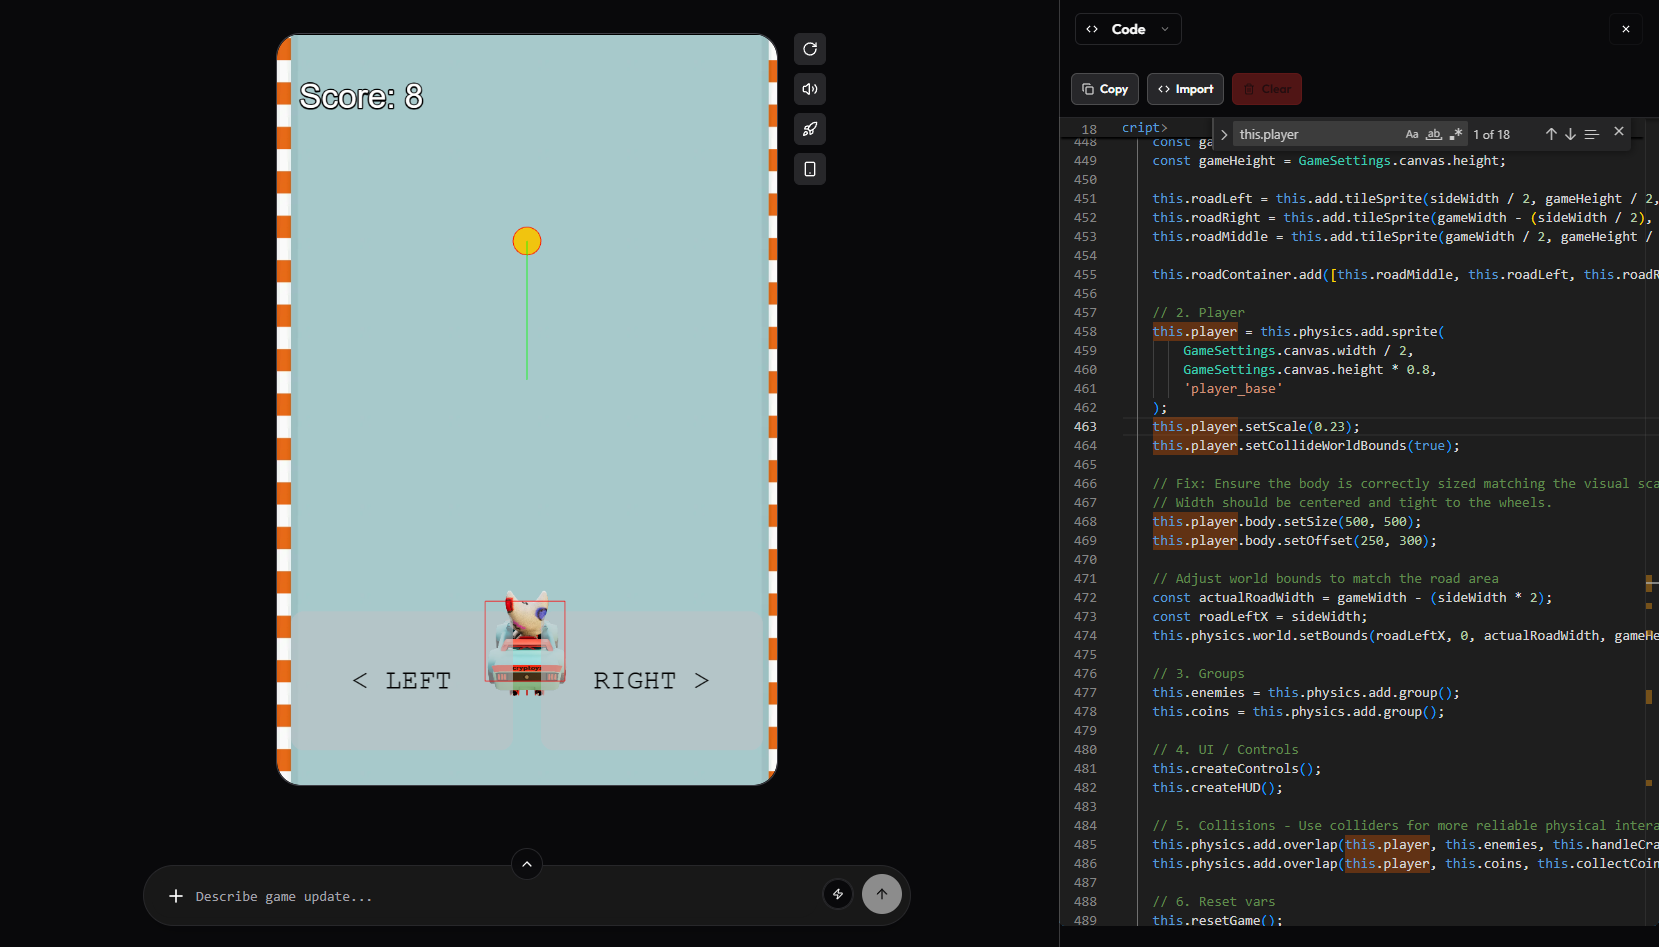
Player Hitbox
- Decided on an appropriate Player Visual Size (how big the car looks)
this.player.setScale(0.23);
- Decided on an good Hitbox Size to reward dodging skills without frustration
const hitboxWidth = 340;
const hitboxHeight = 480;
this.player.body.setSize(hitboxWidth, hitboxHeight);
- Aligned Hitbox Position exactly with the car’s visual body
this.player.body.setOffset(
  (this.player.width - hitboxWidth) / 2,
  (this.player.height - hitboxHeight) / 2 + 150
);
Enemy Hitboxes
- Hitbox Shape is circular to match alien sprites
enemy.body.setCircle(...)
- Appropiate enemy Hitbox Size
const hitboxRadius = 180;
- Aligned Hitbox Position exactly with the alien’s visual body
(enemy.width - (hitboxRadius * 2)) / 2,
(enemy.height - (hitboxRadius * 2)) / 2
Coin Hitboxes
- Hitbox Shape is circular to match coin sprites
coin.body.setCircle(...)
- Coin Hitbox Size matches the sprite
const coinHitboxRadius = 240;
- Aligned Hitbox Position exactly with the coin’s visual
(coin.width - (coinHitboxRadius * 2)) / 2,
(coin.height - (coinHitboxRadius * 2)) / 2
Road and Track Logic
This is where progression came in. This simple system:
- Visually reinforced progression
- Made survival feel meaningful
- Added variety without complexity
I implemented terrain changes based on player speed:
- 0–899: Road_Sand
- 900–1899: Land_Sand
- 1900–2899: Land_Dirt
- 2900–3899: Road_Dirt
- 3900+: Road_Asphalt
The Key function:
updateRoadGraphics() {
  const speed = this.currentScrollSpeed;
  const tierIndex = GameSettings.assets.roadTiers.findIndex(
    tier => speed >= tier.min && speed <= tier.max
  );

  if (tierIndex !== -1 && tierIndex !== this.currentRoadTier) {
    this.currentRoadTier = tierIndex;
    this.roadLeft.setTexture(`road_left_${tierIndex}`);
    this.roadMiddle.setTexture(`road_middle_${tierIndex}`);
    this.roadRight.setTexture(`road_right_${tierIndex}`);
  }
}
The value of when the visuals change was set manually. This code drives the change:
GameSettings.assets.roadTiers = [
  { min: 0, max: 899, left: ..., middle: ..., right: ... },
  { min: 900, max: 1899, ... },
  { min: 1900, max: 2899, ... },
  { min: 2900, max: 3899, ... },
  { min: 3900, max: Infinity, ... }
];
Step 4: Locking the Gameplay Loop
Before adding menus or polish, I focused on one question:
“Is this fun to replay?”
I playtested until:
- Difficulty scaled smoothly
- Deaths felt deserved
- Speed increases were readable
Only when the loop felt solid did I move on. A little extra I added to spice things up is an actual endgame.
Not many people will get to the highest speed possible, but I added in a little code to give a congratulatory message if anyone actually does.
- You start at 500
- Every 5 seconds you multiply speed by 1.1
- Once speed ≥ 4500, the game is considered “won”
gameplay: {
  initialSpeed: 500,
  maxSpeed: 4500,
  playerSpeed: 1000,
  spawnRate: 1500,
  minSpawnRate: 400,
  difficultyScale: 1.1
}
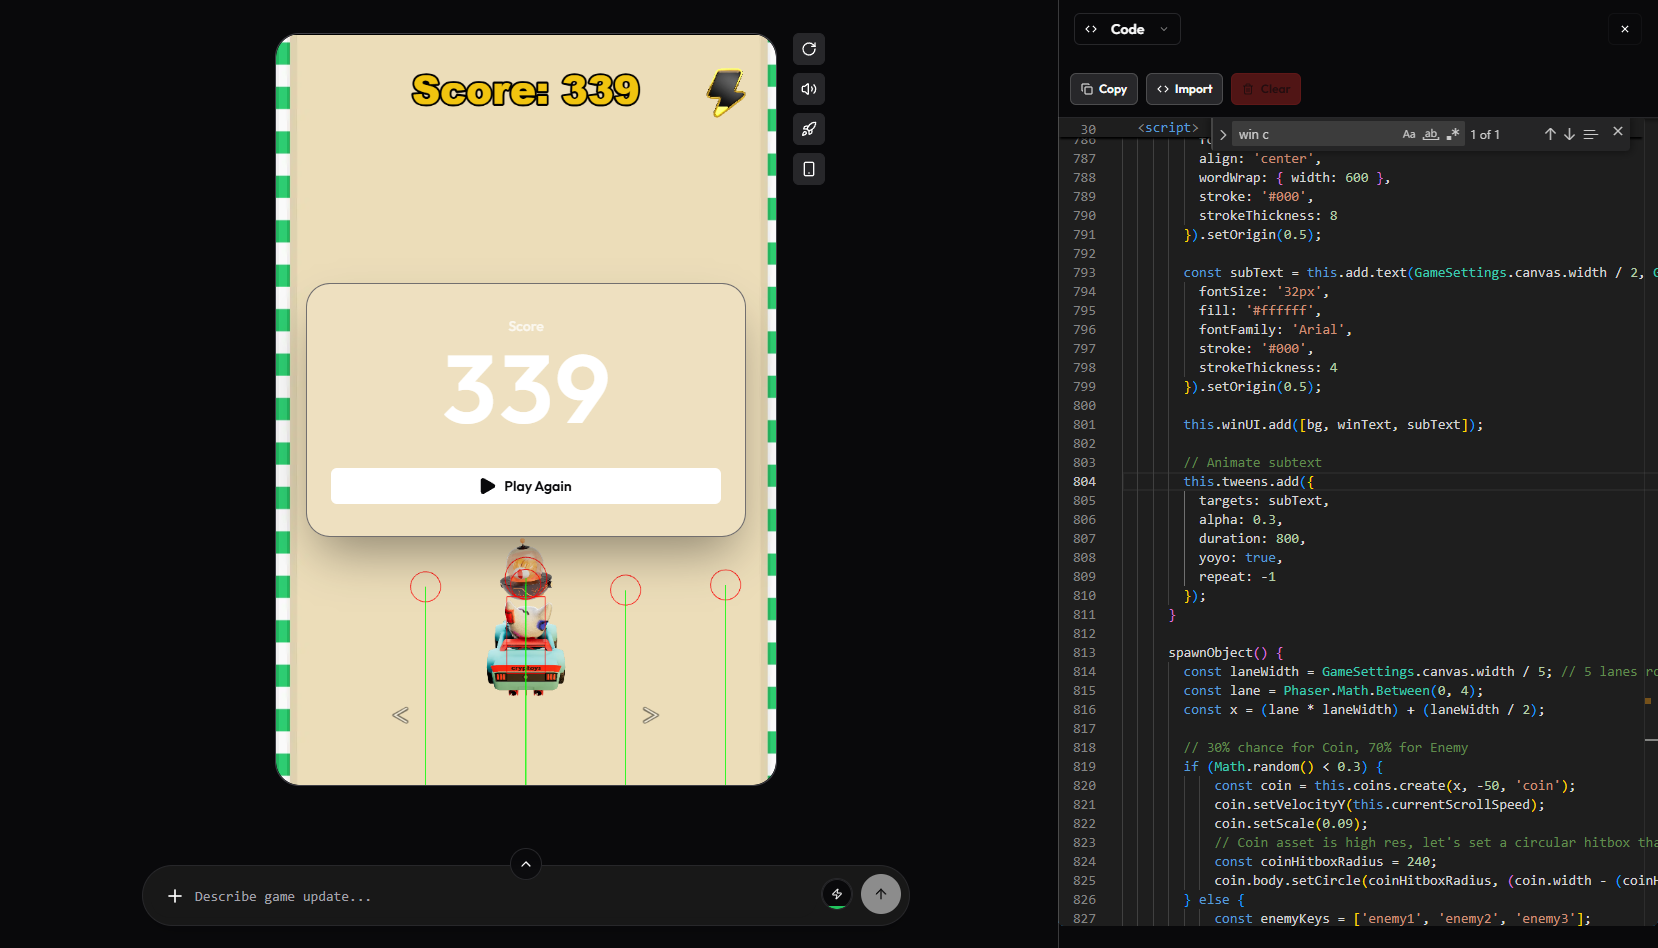
The main victory message shown at the end is short and sweet.
const winText = this.add.text(
  GameSettings.canvas.width / 2,
  GameSettings.canvas.height / 2 - 50,
  'You outran the invasion!',
  {
    fontSize: '64px',
    fill: '#2ecc71',
    fontFamily: 'Arial Black',
    align: 'center',
    wordWrap: { width: 600 },
    stroke: '#000',
    strokeThickness: 8
  }
).setOrigin(0.5);
Step 5: Creating a Proper Start Screen
I used Gemini to generate a start screen background, using images of the player, coins, and enemies
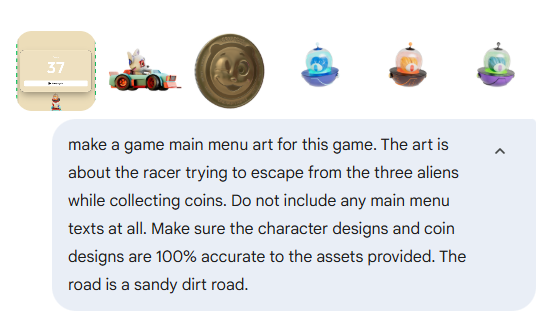
I had to reiterate on small changes to the art, but in the end I got something good.
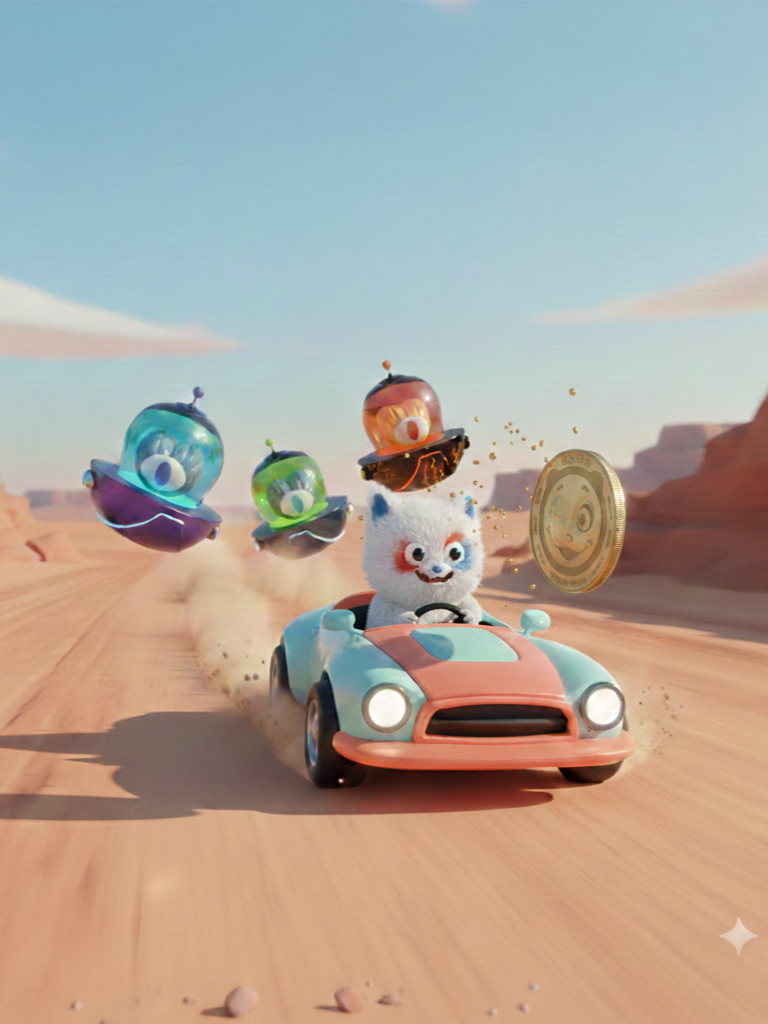
Once I had the proper art, It's time to add it into the game. Crucially it required:
- No text baked into the image
- Dedicated start scene
- Zero gameplay logic running before “Play”
This avoided accidental bugs and gave the game a professional first impression. This code is used for the start scene:
class StartScene extends Phaser.Scene {
  constructor() {
    super({ key: 'StartScene' });
  }

  preload() {
    this.load.image('start_screen', GameSettings.assets.startScreen);
    this.load.audio('sfx_select', GameSettings.assets.selectSound);
  }

  create() {
    const { width, height } = GameSettings.canvas;

    const selectSound = this.sound.add('sfx_select');

    // Background Image
    const bg = this.add.image(width / 2, height / 2, 'start_screen');
    const scaleX = width / bg.width;
    const scaleY = height / bg.height;
    const scale = Math.max(scaleX, scaleY);
    bg.setScale(scale);

    // Start Button
    const btnBg = this.add.rectangle(
      width / 2,
      height - 150,
      300,
      100,
      0x2ecc71
    ).setInteractive({ useHandCursor: true });

    const btnText = this.add.text(
      width / 2,
      height - 150,
      'Start!',
      { fontSize: '48px', fill: '#ffffff', fontFamily: 'Arial Black' }
    ).setOrigin(0.5);

    btnBg.on('pointerdown', () => {
      selectSound.play();
      this.scene.start('GameScene');
    });
  }
}
I opted to use the same art for the Game Icon too.
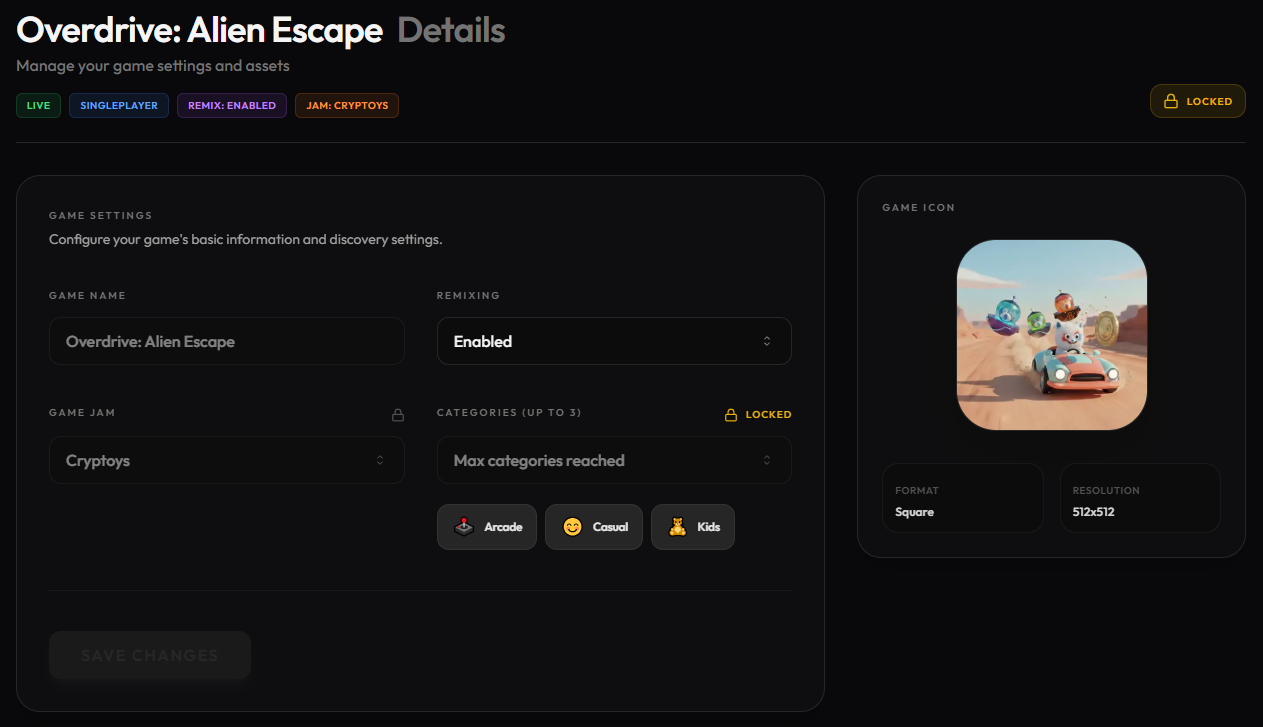
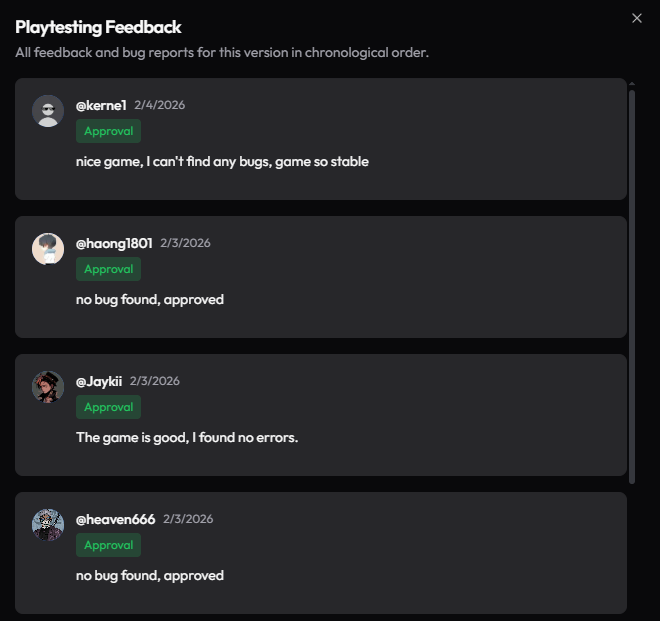
Step 6: Publishing and Playtesting
Once all the above is done, I turned off the physics debug and published on Remix:
- I waited for external playtests
- Collected feedback
- Watched for game-breaking bugs
This time, I got lucky; no critical issues surfaced.
Final Product
You can play the final game here:
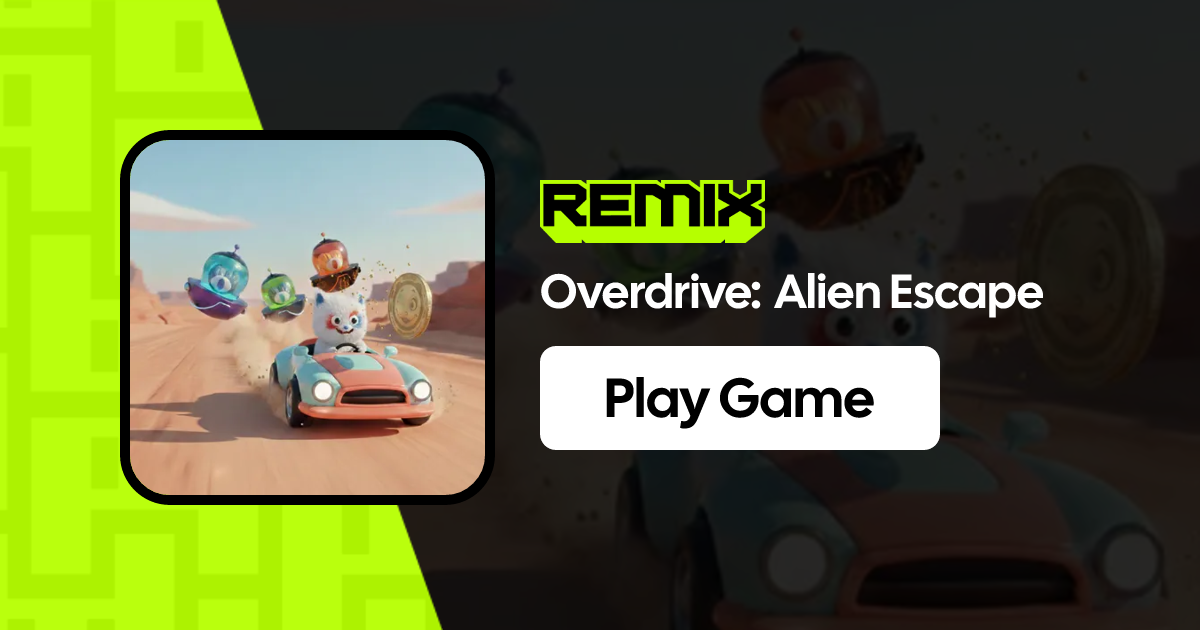
Vibe-coding didn’t make this game for me. But it made shipping it possible within a jam timeframe.
If you’re curious about AI-assisted game dev, Remix is one of the best sandboxes to experiment in right now.
If you play the game, break it, or learn something from it, that’s a win.
Related articles:


Comments ()